How Moon Phases Change Night Photography Opportunities
Moon phases change your night photography opportunities by shifting how much light hits the sky on any given night. Each phase controls star visibility and the kind of landscape shot you can pull off. So picking the wrong night leaves you with a wasted trip and a full memory card of unusable photos.
Most beginners blame their gear or their location when a shoot doesn’t work out. But the real culprit is almost always the moon phase they picked. Here at Star Hawks, we’ve seen this catch out even the most prepared photographers. And in this guide, we’ll walk you through:
- How each moon phase affects your camera settings
- Which phases work best for different shots
- How moonrise timing can change your night photography plans
If you’re ready to improve your shooting with a more informed approach, let’s begin.
What Do Moon Phases Actually Mean for Photographers?
The moon cycles through eight phases over 29.5 days, and each one changes how much light hits Earth. This directly controls what night photography is possible on any given night. More lunar light means fewer visible stars and a brighter sky overall. And less lunar light allows your camera to pick up much more detail in the night sky.
The thing nobody tells you is how much each phase varies in brightness. For instance, a full moon reflects sunlight so strongly that it overpowers everything around it. A new moon, on the other hand, produces no reflected light at all. This gives you the darkest conditions of the entire month.
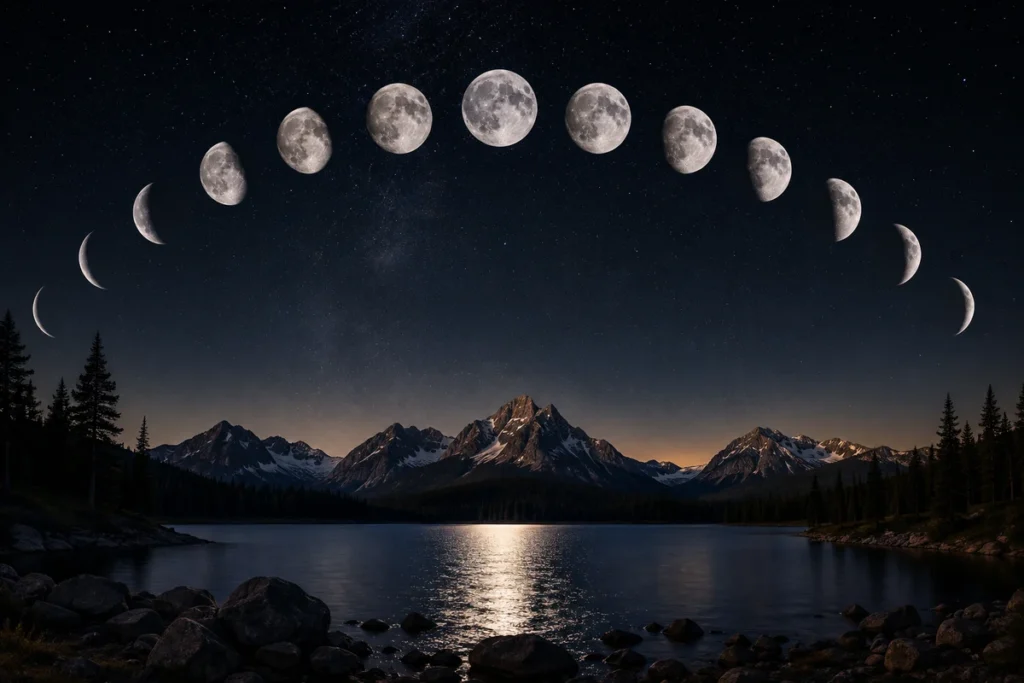
Which Phase Opens the Best Night Sky Opportunities?
Honestly, every phase gives you something worth photographing. You just need to know which phase suits which kind of shot, and the whole lunar cycle starts working in your favour. Here’s a general idea.
New Moon: Darkest Skies for Milky Way Shots
As we mentioned earlier, the new moon gives you the darkest possible sky and makes it the best phase for capturing the Milky Way core and faint star fields. When photographing the wider Milky Way arc, the same dark conditions help reveal the full structure of the galaxy across your frame.
With zero lunar light competing, your camera’s sensor picks up detail that other phases simply can’t deliver. You also aren’t locked into just the one night. About four to five nights either side of the new moon deliver equally excellent conditions (and those extra nights are worth circling on your calendar).
After spending countless nights under Australian skies, we’ve learned that if you plan around this full window, you can come home with better results than those chasing a single date.
Full Moon: Natural Light for Landscape Photography
A full moon lights the entire landscape evenly, which makes it the strongest phase for moonlit landscape photography. It rises at sunset and sets at sunrise, so you’ve got a full night of natural illumination to work with. Rivers, open fields, and ridgelines all catch that light in ways that can make an ordinary landscape photo become something worth framing.
That said, the bright light can wash out stars, which makes deep sky shots difficult during this phase. Even so, star trails still work under a full moon. However, darker phases produce sharper trails with less sky wash in the final image.
Either way, the illuminated moon itself becomes the subject here, and that’s a rewarding kind of photography to try.
Crescent and Quarter Moons: The In-Between Advantage
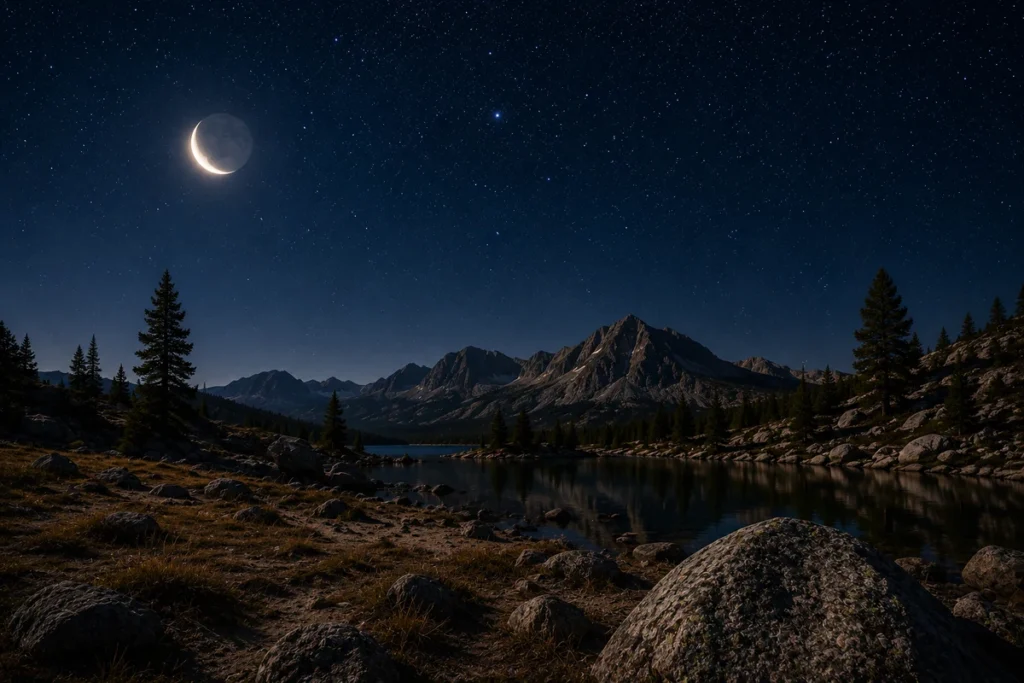
A crescent moon adds soft foreground light without overpowering the stars above. That gives you a beautiful night sky and a visible landscape in the same frame. We often see beginners skip these nights entirely. But that’s exactly why shots from these phases can look different from everyone else’s.
A half moon or gibbous moon setting before midnight also opens a dark sky window in the second half of the night. These phases suit anyone who wants both a lit foreground and star visibility without having to choose between the two.
How Do Camera Settings Change Across Lunar Phases?
Camera settings change across lunar phases because the moon’s brightness and position affect exposure, shutter speed, ISO, and focus choices. The camera settings that work brilliantly under a new moon will completely wash out your final shot under a full one.
This table will help you get started:
| Moon Phase | ISO | Shutter Speed | Aperture | Best Shot Type |
| New Moon | 3200–6400 | 15–25 sec | f/1.8–f/2.8 | Milky Way, star fields, deep sky |
| Crescent Moon | 400–800 | 1/60–1/125 sec | f/2.8–f/5.6 | Crescent detail, stars + lit foreground |
| Quarter Moon | 400–800 | 1/60–1/125 sec | f/5.6–f/8 | Half-lit lunar surface, landscape |
| Full Moon | 100–200 | 1/100–1/250 sec | f/8–f/11 | Lunar surface detail, moonlit landscape |
Brighter phases need a faster shutter speed and a low ISO because the moon’s light is already radiant. A full moon, for instance, shoots fine in manual mode at f/11, ISO 100, and 1/100 sec. That’s the Looney 11 Rule, and it’s a reliable starting point for lunar surface detail.
Under a new moon, though, your camera’s sensor needs all the help it can get. So you’d flip to a high ISO between 3200 and 6400. Pair that with long exposures of 15 to 25 seconds and a wide aperture to pull in enough light.
White balance is worth setting manually too, at around 3800 to 4200K. That way, your final photograph stays consistent across multiple shots (yes, even a small ISO change here makes a visible difference in your shot).
Quick Tip: Check your LCD screen after the first few frames, and adjust from there rather than fixing everything in post-processing. Taking multiple shots at slightly different settings gives you options when you get home and review your images for image quality.
Gears That Make Moon Photography Easier
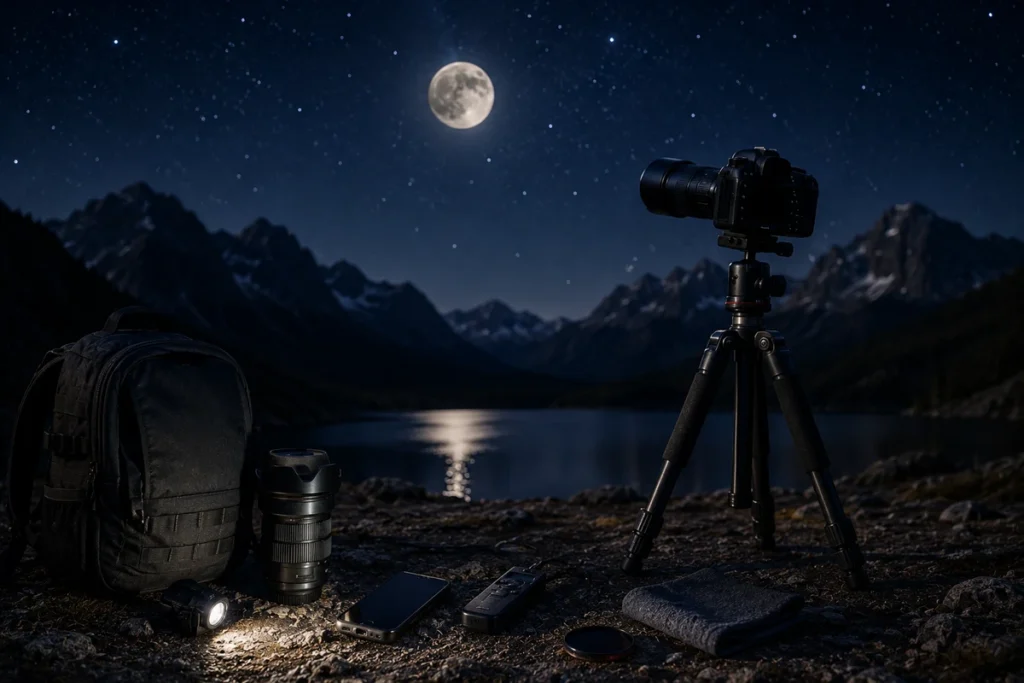
You don’t need an expensive kit to shoot the nighttime sky well. But some pieces of gear will save you from the most common mistakes beginners make on their first night out. These things will improve your astrophotography across basic techniques and more advanced ones alike:
- Remote Shutter Release: Camera shake is a major reason night sky photos come out blurry, but a remote shutter release cuts that risk completely. A wired or wireless release is a good option here, and a two-second timer delay on your camera is a solid free alternative.
- Wide-Angle Lens: A wide angle of 14-24mm with an aperture of f/2.8 or wider lets your camera pull in the full Milky Way arc and surrounding landscape in one frame. Full frame camera bodies are especially great with this focal length for cleaner image quality at high ISO.
- Telephoto Lens: Mirrorless cameras with a good telephoto lens give you a sharp, detailed final image without the extra bulk. Plus, longer focal lengths of 200mm or more fill the frame with the moon’s surface and crater detail in a way that wide-angle lenses simply can’t.
- Sturdy Tripod: Any exposure more than one second needs a sturdy tripod underneath it. Even the steadiest hands introduce enough movement to ruin an otherwise well-exposed shot.
- A Moon Phase Planning App: Apps like PhotoPills use augmented reality to show you exactly where the moon rises before you arrive at your best location. You can also check moonrise times, lunar phases, and Milky Way positioning all from one place. It makes planning night sky photos far less guesswork.
A crop sensor camera works just as well for moon photography as any full frame setup, so don’t let gear hold you back. Get your memory card formatted, a focus ring set to infinity, and your settings dialled in before the light fades.
Pick Your Phase and Get Out There Tonight
Every moon phase gives you a good reason to head out with your camera. The trick is matching what the sky offers that night to what you actually want to capture.
A quick recap before your next shoot:
- Every phase offers a unique photography opportunity
- Pair your lunar calendar with moonrise times
- Preparation beats perfect conditions every time
Now that you’ve got the plan, the only thing left is getting out there. And if you’re looking for more ways to sharpen your skills under the Australian night sky, browse through our other articles here on Star Hawks. There’s plenty more to explore and shoot.