Planning an Astrophotography Trip Around Weather and Light Conditions
Planning an astrophotography trip sounds simple until you’re two hours into a drive and the sky clouds over. Along with clear weather, a great night shoot depends on your location, equipment, camera settings, and preparation. And those need sorting before you leave home.
Here at Star Hawks, we’ve broken the whole planning process down into four parts:
- Reading the conditions that can ruin your shoot
- Timing the Milky Way correctly
- Finding a genuinely dark location
- Setting your camera up the right way
So if you’ve ever driven out under a seemingly perfect sky and come home with no photos worth keeping, let’s fix that.
What Can Ruin an Astrophotography Night Before It Starts?
Bad weather, poor timing, and light pollution are the three common issues that ruin a night shoot before it even starts. To make it worse, most of them don’t even show up on a standard weather app.
Here are six things that make a wasted trip:
- Cloud Cover and Humidity: Thin cloud layers scatter starlight so badly that extended exposures come out hazy and flat. This means a “mostly clear” forecast isn’t always reliable.
- Wind Speed Above 20km/h: Vibration of the wind travels straight through your tripod during a long exposure. And the final shot ends up blurred beyond recovery.
- A Bright or Rising Moon: A full moon sits at an apparent magnitude of –12.7. That’s enough light to wash out the galactic core and lift sky brightness across the whole frame.
- Poor Air Clarity: Dust, smoke, and haze reduce the contrast your camera captures. In fact, a hazy night can have a greater impact on image detail than mild light pollution.
- Light Pollution Creep: Ambient light from city lights bleeds into wide-angle shots. That orange glow along the horizon is harder to remove in editing. It can reduce contrast, shift colours, and hide faint details in the night sky.
- Wrong Season for Your Target: The Milky Way core sits below the horizon during certain Australian months. Meaning, photographers may arrive at a dark location when the brightest part of the galaxy isn’t visible in the sky.
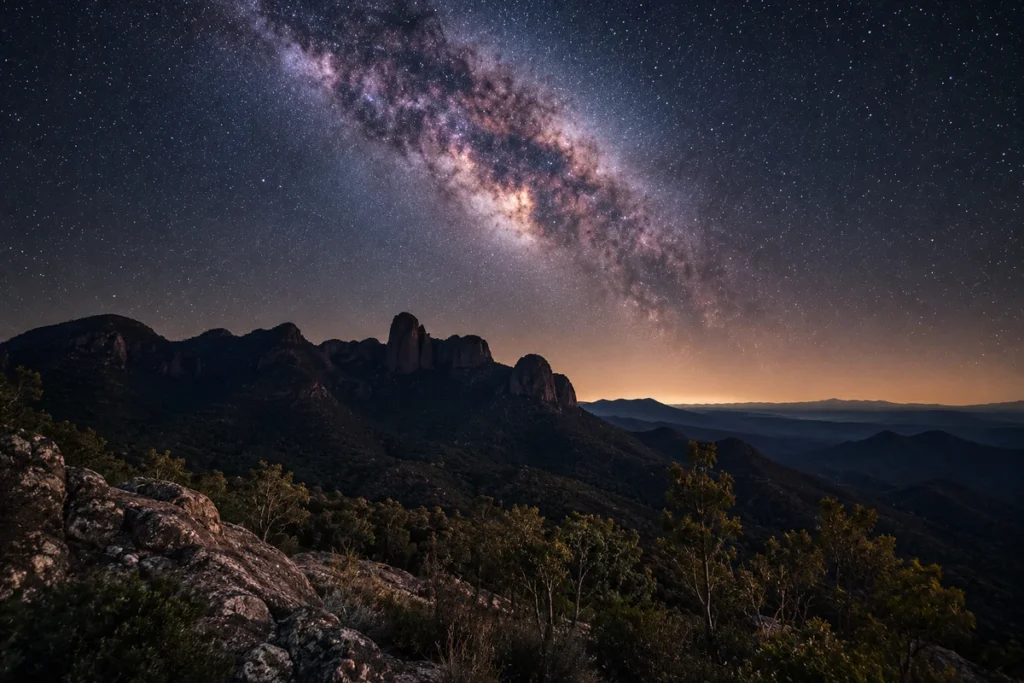
That said, none of these are hard to check in advance. Only ten minutes using weather, cloud cover, and stargazing apps the night before can rule out poor nights before they waste your time and petrol.
How Do You Know When the Milky Way Will Show Up?
Southern hemisphere photographers can see the Milky Way core between February and October, peaking around June and July. The thing nobody tells you is that the season alone doesn’t guarantee a good shot. Moon phase, app planning, and your location all play just as big a role.
This is what you need to line up before you pick a date.
Australia’s Best Months for Milky Way Photography
As we were discussing, the galactic core is visible from around February to October, but April to August gives darker skies and better evening timing for most photographers. Basically, autumn and early winter are well-suited for a full night shoot. You can hit the ground running the moment the season opens.
In terms of locations, Warrumbungle National Park in NSW is Australia’s first and only International Dark Sky Park. It’s one of the best spots to visit during peak Milky Way season for truly dark sky conditions.
How Moon Phase Affects Your Shooting Window
Our recommendation from plenty of nights out under Australian skies: shoot within three to four days either side of a new moon for the darkest possible skies. Even a slim crescent can affect your long exposures.
So if a rising full moon falls in your planned window, consider shifting your date by a few nights to capture bright stars without the washed-out sky.
Using Apps to Time Your Shot Precisely
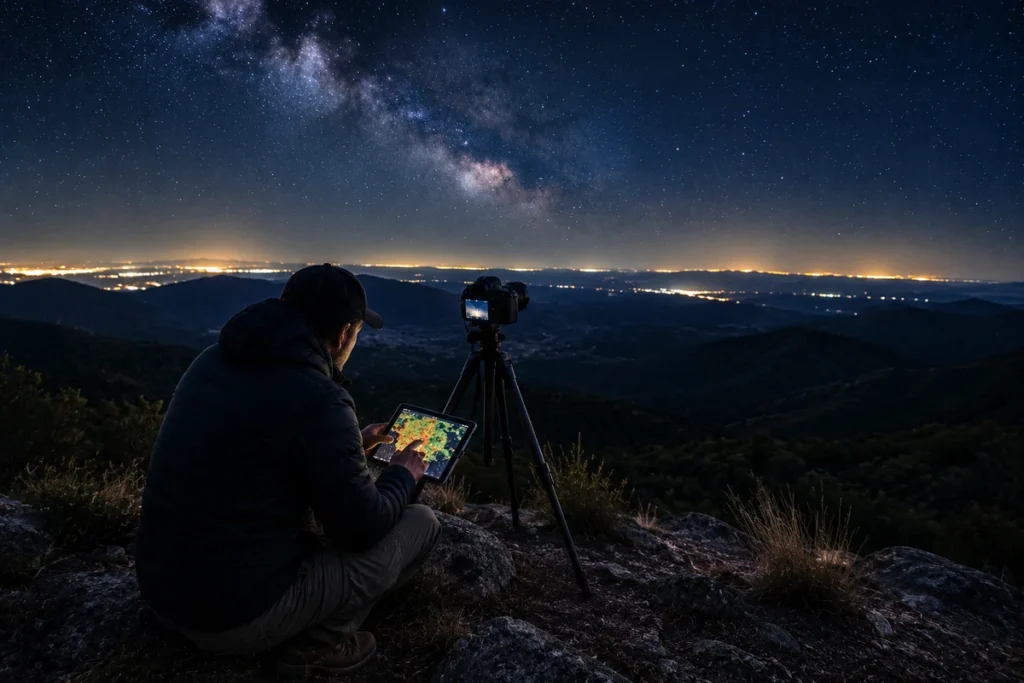
The PhotoPills app shows a live Milky Way planner with galactic core position, rise time, and azimuth (the direction the Milky Way appears in the sky) for any date. Besides that, Clear Outside and Astrospheric give hourly cloud cover forecasts built for night sky photography.
You can also use Stellarium to preview the exact direction the Milky Way core will sit above your foreground. That way you can plan your capture before you leave home.
Where Should You Set Up Your Camera?
The Bortle scale rates sky darkness from 1–9, and Class Four or lower is the recommended starting point for Milky Way photography. In this case, light pollution maps let you find dark zones before committing to a long drive. Not to mention, elevation, open horizons, and sealed road access all affect both image quality and personal safety at night.
Use this table to size up any location before you shoot:
| Factor | What to Look For | Why It’s Important |
| Bortle Scale Rating | Class 4 or lower | Milky Way visible with good detail |
| Distance from City | Varies; verify on light pollution maps | City size determines how far you need to go |
| Elevation | Higher is better | Less atmospheric distortion and scattered light |
| Horizon Clearance | Open 180° view | Captures the full Milky Way arc |
| Road Access at Night | Sealed or firm gravel | Safety when driving to remote locations in the dark |
Unfortunately enough, most photographers obsess over camera settings but put very little thought into where they set up. A Class Four dark sky with an open foreground and a clean horizon will let you shoot clearer images than more advanced techniques ever will.
Bottom Line: City lights more than 50km behind you and a wide frame of sky overhead create better conditions for night sky photography. A stable surface to shoot from is the final factor that helps separate a great capture from a forgettable one.
Astrophotography Tips: What to Check Before Every Shoot
Check moon phase, cloud cover percentage, wind speed, and Bortle rating together before deciding to head out. This is where we see most people go wrong: they check one or two of these and assume the rest will sort itself out.
Additionally, lock these few things in before you leave the house.
Camera Settings for Dark Sky Photography
Start with aperture at f/2.8 or wider, ISO between 1600 and 3200, and shutter speed around 15 to 25 seconds. For shooting long exposures without star trails, the 500 rule is your starting point. Divide 500 by your focal length on a full-frame camera (or by your crop factor multiplied by your focal length on a crop sensor camera).
Here’s the 500 Rule Formula:
500 ÷ focal length = maximum exposure time (seconds)
On a crop sensor camera with a 1.5x crop factor, the formula would be:
500 ÷ (focal length × crop factor) = maximum exposure time (seconds)
Along with all these settings, set white balance manually between 3800K and 4800K (your camera won’t figure this one out on its own). Don’t forget to shoot raw images, so you’ve got full control over the final image in post.
Basic Equipment to Pack Before You Leave
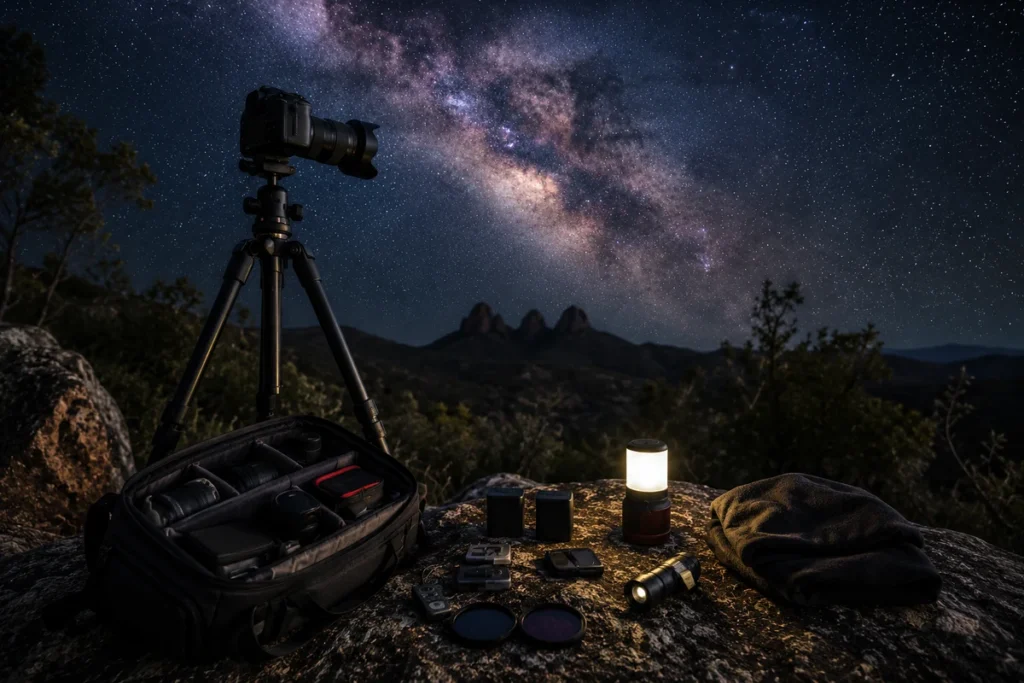
A sturdy tripod is non-negotiable for night sky photography, and any vibration during a long exposure in low light will ruin the photo outright. Plus, bring at least two fully charged batteries, because cold Australian nights drain them quickly (two batteries sounds like overkill until the first one dies at midnight).
Quick Tip: A red headtorch preserves your night vision by using wavelengths that don’t disrupt your eyes’ dark adaptation. This way you can adjust your camera settings without starting the whole process over.
Happy Shooting: Your Night Sky Photography Checklist
Planning an astrophotography trip ultimately comes down to weather, dark sky location, camera settings, and a solid night-before routine. Get those lined up, and you’ve already done the hard part before you leave the driveway.
And better safe than sorry:
- Download offline star maps
- Confirm your GPS coordinates
- Tape the focus ring so it doesn’t shift in the dark
Remember to check the forecast one more time on your app the morning of the shoot rather than the night before, so last-minute changes don’t catch you off guard.
The stars aren’t going anywhere, so take your time and plan it properly. If you’d like to keep reading, we’ve got plenty more night sky photography guides on Star Hawks to help you with your astrophotography. Visit our website for more tips.