Why Astrophotography Is as Much Patience as Skill
Astrophotography requires patience because capturing clear images of distant objects means long waits, repeated adjustments, and working around unpredictable conditions. In fact, each frame needs 15 to 30 seconds of exposure time just to gather enough light from the night sky.
When each attempt takes this long, there’s no room for the spray-and-pray approach that works during the day. This slower pace of star photography often throws many people off.
In this article, we’ll walk through the main reasons the astrophotography journey demands patience over speed. You’ll also learn about the gears you’ll need as a beginner, and how you can plan your photography session for the best results.
Let’s find out everything you need to know before heading out for night sky photography.
What Makes Astrophotography Different from Regular Photography?
Astrophotography requires longer exposure times, manual camera settings, and darker locations than daytime photography ever demands from you. For example, your autofocus stops working, exposure meters give useless readings, and what looks bright to your eyes shows up completely black on your screen.
Here’s why this happens and what you need to change during deep sky photography.
Dark Sky Locations are More Important Than Expensive Gear
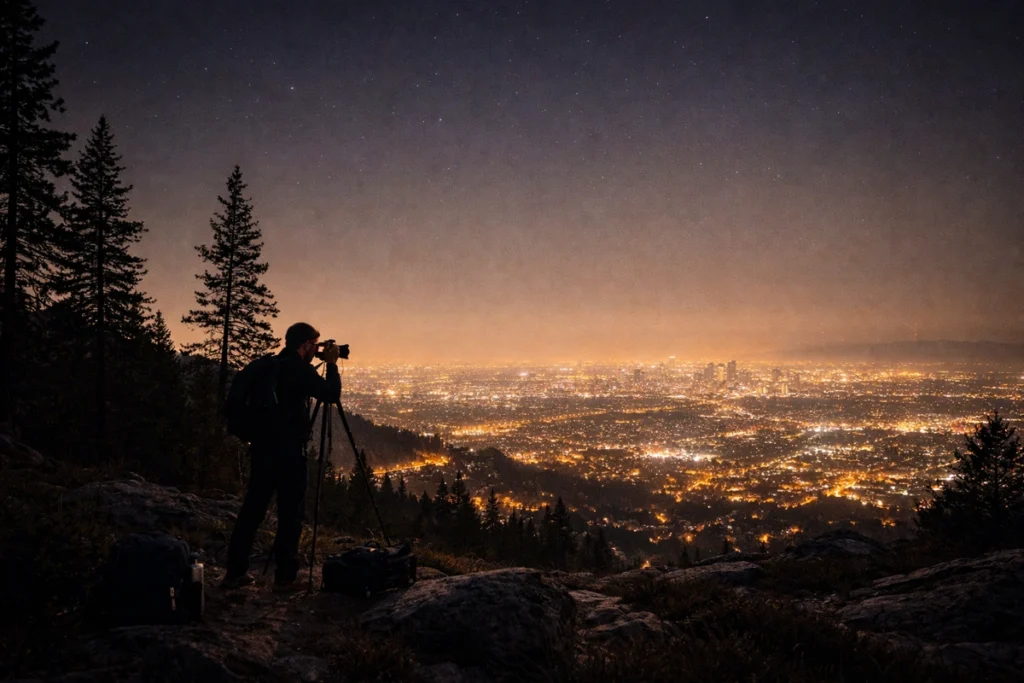
Research found that night skies are getting 9.6% brighter every year, which means dark sky locations become more valuable with each passing year. It’s because light pollution from cities washes out faint stars and makes photographing deep sky objects nearly impossible to see.
In fact, 80% of Americans can no longer see the Milky Way due to light pollution from cities and suburbs. Even a small town’s glow can brighten the night sky enough to hide everything except the brightest few dozen stars.
In reality, your entry-level DSLR camera performs better in a truly dark location than expensive gear does near streetlights. The best camera can’t fix a bright sky, but proper darkness makes even basic equipment produce stunning results.
Exposure Time Forces You to Wait and Watch
Each frame of astrophotography takes 20 seconds minimum, so you can’t just snap away and move on quickly. You’ll have to spend more time reviewing and adjusting than shooting.
Reviewing images on your camera screen teaches you what worked versus what you imagined would work. Say, that bright star you thought would add interest is creating lens flare across half your frame. This is the learning process nobody warns you about, and those hours of trial and error build your skills better than any tutorial ever could.
The Best Camera Settings Need Hours of Practice
Switching from daytime photography to stars takes a relearning of how your camera works. Everything that adapts automatically with a single press of a button now needs your constant attention and adjustment.
These are the general settings that work for astrophotography:
- Manual Mode: Firstly, change the auto mode to manual. This mode gives you full control over every setting because your camera’s auto modes completely fail in darkness. If you let the camera decide anything, you’ll get either pure black frames or wildly overexposed shots.
- Shutter Speed: Keeping the shutter speed between 15 and 30 seconds captures enough starlight without creating trails. You can’t go longer because Earth keeps spinning, which makes stars streak across your frame after about 30 seconds with most lenses.
- ISO Settings: Somewhere between 1600 and 3200 grabs faint details without drowning your star photos in grain. If you go lower, your exposure time needs to stretch beyond what’s practical. But go higher, and noise ruins the image quality you worked so hard to capture.
- Aperture: Wide aperture at f/2.8 or f/4 is standard because you need every bit of light your lens can gather. However, stopping down to f/8 as you would in daylight just makes everything disappear into darkness.
Mastering these camera settings takes practice to balance properly. So be mentally prepared for trial, error, and learning how your gear responds to the night sky.
Basic Equipment: The Camera and Lens You’ll Need
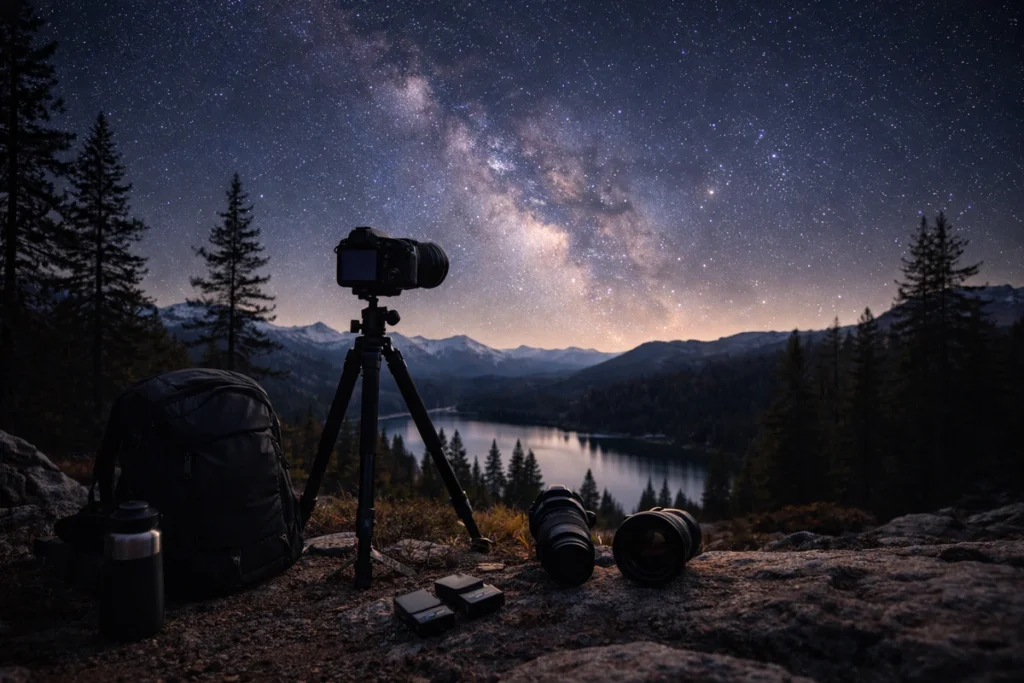
For starting night sky photography, you don’t need thousands of dollars in gear to capture stunning night sky shots. Most beginners think they need a telescope and a fancy tracking mount before they can even start. But some of the most impressive starry landscape photos you’ve seen online were shot with basic equipment.
The gear list below covers everything you need when you’re learning:
- A DSLR camera or mirrorless camera (a crop sensor camera works fine for learning)
- Lenses with f/2.8 or wider apertures
- A sturdy tripod
- Remote Shutter Release (to stop you from bumping the camera)
- Wide-angle lenses between 14mm and 24mm
- Crop factor on APS-C sensors (to crop a 24mm lens into roughly 36mm)
- Spare Batteries
Once you’ve got these basics sorted, you’re ready to head out and start shooting. The gear is less important than knowing how to use it well. And that understanding only develops by getting outside, experimenting, and mindfully observing mistakes.
Common Frustrations And Astrophotography Tips
Believe it or not, astrophotography trips up nearly everyone because the problems don’t show up on your camera’s tiny screen in the dark. You’ll think everything looks sharp until you get home and open the files on your computer. However, these frustrations teach you more than any YouTube tutorial ever could.
Let’s walk through the two most common challenges beginners face.
Setting Focal Length Without Autofocus Help
Autofocus hunts endlessly in darkness and rarely finds sharp focus. It’s because your camera’s AF system needs contrast and defined edges to lock onto something. And stars don’t have either of those things. Setting your lens to infinity doesn’t guarantee sharp images either, because most lenses focus slightly past infinity.
Pro Tip: Magnify a bright star, then slowly turn the focus ring until the star shrinks to its smallest possible point. That’s your focal point. Then take test shots at different focus positions and zoom in to 100% on your screen to compare them.
Learning Which Bright Stars Throw Off Your Composition
Sirius and Vega create lens flares that ruin parts of your frame if positioned poorly. Based on our shooting sessions, placing these bright stars near the edge of your composition spreads light artefacts across your deep sky objects awkwardly.
A bright star near your frame’s corner acts like a spotlight you didn’t ask for. It bleeds light across the sensor and washes out fainter details you’re trying to photograph. Moving that star just slightly inward or out of frame completely fixes the problem.
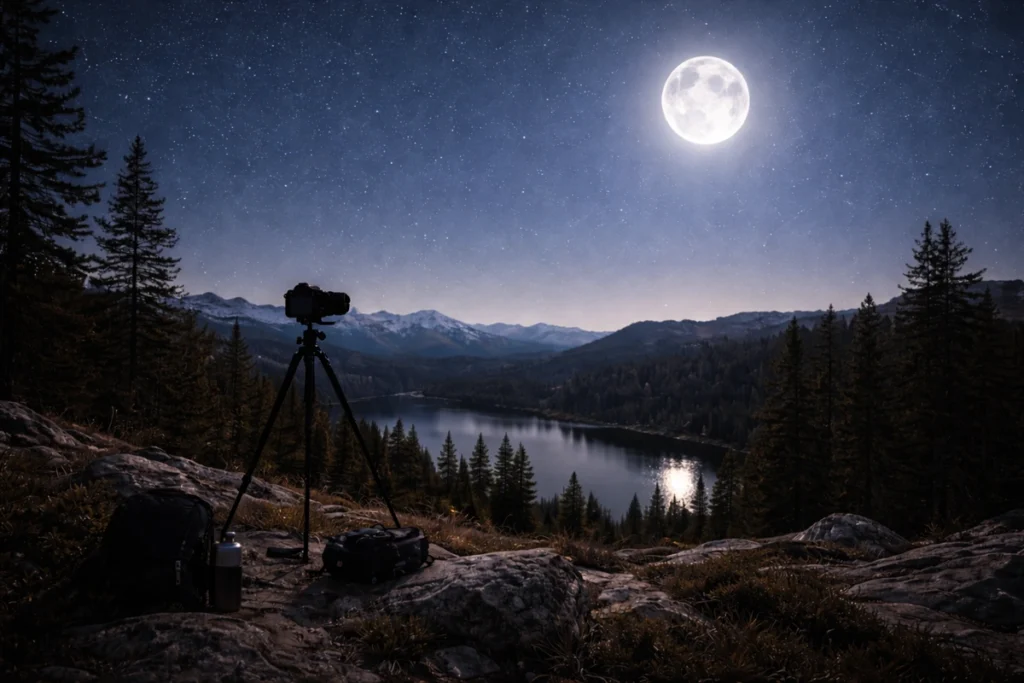
Planning Around Full Moon and Deep Sky
We’ve seen most beginners pick a clear night and head out without checking the moon phase or weather forecast. Then they wonder why their night sky images look washed out or why clouds rolled in an hour after setup. However, the moon and weather control your success more than any camera setting ever will.
Here’s what you need to track before each session.
- Full Moon Impact: The full moon brightens the sky so much that faint nebulae and galaxies disappear completely from view. Because of that, the night sky resembles twilight and washes out everything fainter than Jupiter.
- New Moon Advantage: New moon phases give you the darkest skies for capturing deep sky targets successfully each month. This is when the Milky Way looks vibrant, and night sky photography provides the results you’re after.
- Weather Apps: Cloud patterns can totally demolish your plans, but watching forecasts gives you better odds. Weather apps can also help you track cloud cover days in advance, so you don’t waste petrol driving out to a dark sky site.
- Winter Clarity: Winter months offer clearer skies in many regions, though you’ll freeze while waiting for those 20-second exposures. But what we’ve noticed over multiple outings is that cold air holds less moisture, which means sharper stars.
- Summer Humidity: Summer brings the Milky Way core into view, but also adds humidity that softens star sharpness frustratingly. After shooting through multiple summers, we’ve learned that deep sky objects look hazier even on technically clear nights.
When you plan your sessions around these factors, it separates frustrating nights from productive ones. So check the moon phase first, then the weather, and finally commit to going out or staying home.
Start Your Astrophotography Journey This Weekend
Star photography combines technical camera settings knowledge with the patience to wait for perfect conditions under dark skies. The learning curve might feel steep at first, but every session teaches you something new about timing, composition, and working with limited light.
We suggest starting with basic equipment during a new moon phase, then reviewing your shots to improve each session gradually. It’s best to focus on one skill at a time rather than trying to master everything in your first night sky outing.
For more astrophotography tips and location guides across Australia, visit Star Hawks Blog. You’ll find practical advice from actual shooting experience, and the best gear recommendations for your skywatching journey.